

How to create a world (in more than 6 days).
When I joined Megagon Industries in late 2018 as a 2D & 3D Artist Lonely Mountains: Downhill was already in mid-production. Although a lot of the mountains were still in development, my main focus was to create the level art and decorate the mountains within the established art-style. While we had some – mostly unwritten – rules for the art direction of the game, there were no comprehensive concepts for the mountains, and a lot of decisions were just made along the way. Luckily, it turned out fine. The game was generally praised for its art-style and although some of the mountains are less coherent than we aimed for, we were pretty happy with the result.

One of the first visual explorations of a volcano island with references to highlight different areas.
Nonetheless, when we started to work on our new DLC mountain “Eldfjall Island” we decided on a different approach. Instead of jumping headfirst into production, we wanted to do proper pre-production this time. For me, this not only meant to come up with a coherent art direction for the new DLC but also to look back at everything we learned from the previous mountains. In this article, I want to share our workflow, the inspiration we used, and how the art direction held everything together.
Before we started to work on the actual new mountain, we needed to understand the visual pillars of the game we had just shipped.
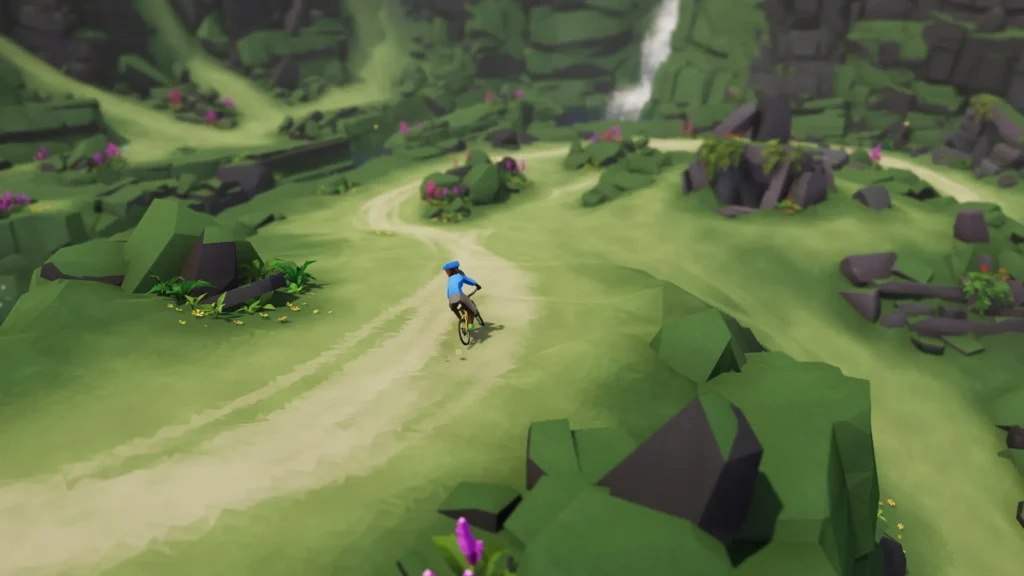
- High Level of Detail: Although the game is often classified as a low-poly game, we do use a higher level of detail for our assets and in a higher quantity than most other low-poly games. This allows us to create very rich environments that feel natural but are readable as well as easily memorable.
- Strong Color-Schemes: Each mountain has its colour scheme. We use harmonious base tones for the grounds and rocks against strong accent colours for plants and flowers to make each area of the mountain unique and recognizable. Lighting, particles, and post-effects round up the look.
- Backgrounds are as important as the trail itself: We want the player to feel like the trail he is riding is only a little part of a much bigger world. So we try to make room for scenic views and give trails as much depth as possible.
Knowing our foundation, we were able to begin the creative process by looking at the big picture. Our first mission was to find an appropriate theme for the mountain. Once you have that, you can then break down big shapes to smaller details.
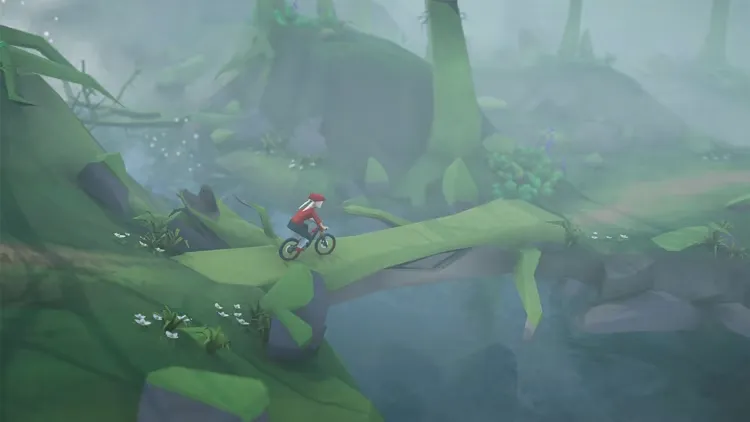
We made a few concepts and decorated in-game scenes to prove the idea of a mossy and volcanic environment.
For example, each mountain is made of trails, and each trail is made of several checkpoints, a checkpoint has different areas, and each area consists of individual spots.
This means that as soon as you have the main theme, you can come up with ideas to make each trail unique while still being a part of the bigger vision. You can then look at the individual sections of each trail and create a visual progression from the peak to the finish line. At last, you look at each spot on the mountain to make sure that every turn looks unique and easily recognizable.
So, how did we find the theme? Luckily we already had a large pool of ideas to chose from as we had already done a pole during the Kickstarter campaign asking our community which future mountains they would like to see. The problem: a snow mountain was sitting on the top of that list. But as the original release for the DLC was planned for early summer, the time felt not right for a snowy landscape. So we chose the second most wished mountain – a volcano.
Once we had decided on a topic, I started extensive research to get into the right mood.
I collected images of different topics like Iceland, Scotland, volcano, earth cracks, and more. The goal was to understand what kind of atmosphere we wanted to achieve, which assets we would need, and what natural phenomena we could use to create unique looks for each trail.
Before we started the production we made a proper plan for each trail. This overview helped us a lot to design the mountain as a whole ecosystem.
For “Eldfjall Island” we ended up combining a chill environment with the heat of a volcano as we knew that his strong contrast would give us a lot of different possibilities. Although our main reference Iceland has poor vegetation, it’s rich in unique rock formations, mossy landscapes, and impressive cliff structures formed by water. To design an entire environment without any trees was an interesting challenge for us. Keeping these natural resources in mind, I started to sketch rough mountains to explore different ideas. As mentioned before, we tried to focus on the big shapes instead of digging into details too early.
Our main question at this time was, how could we create a whole mountain full of mossy rocks without losing variety. So for the next step, I drew more detailed sceneries, representing different parts of the mountain: ancient mossy hillsides, cliffs, and volcanic ground. To prove our concepts, we went further and made a few 3D rock assets, implemented them in Unity, and arranged a small playable scene. It’s crucial to evaluate the design in the game itself early on. Camera angle, light settings, colour, and most importantly, the scale of the assets play an important part in how everything comes together.
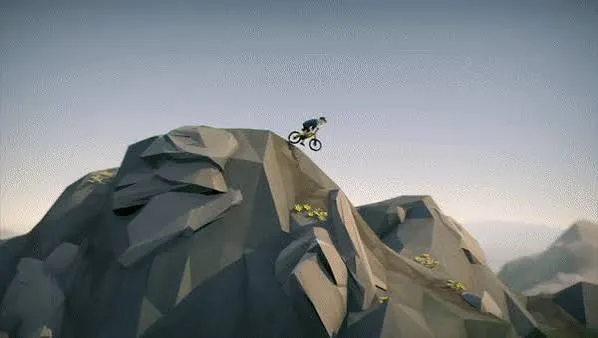
For Eldfjall Island we used the first time different coloured rocks and a custom moss shader which allowed us to create much more variations out of a limited number of assets.
After a quick overpaint in Photoshop, we got a better understanding of how we could use rocks and vegetation to create diverse environments, without overpopulating every corner with grass and flowers.
Parallel to the research, we started to build the mountain in Unity with placeholder assets. At this point, both the level design and concept art affected each other. With each level design iteration, we were able to define the overall look of the mountain better. We worked together to make each trail unique and gameplay-wise interesting but to also preserve the mountain as a whole ecosystem at the same time.
Before the production phase could start, we needed proper visual guidance for each trail, so I headed back to the drawing board. I made screenshots from each part of every trail and sketched a small thumbnail with the final idea. A few sample images and a description of the area were added to understand the concept better. Our main criteria were to check if each part was unique enough to be recognizable from a single screenshot.
We planned to start the first trail with a windy plateau, followed by lush green areas with more vegetation, and the sandy beach at the end. The second trail was mainly to be dominated by a giant thunderstorm. For the third one, we wanted to start with falling ash to remind the player of the proximity of the volcano and then continue to focus on a scenic route with a wide view on the ocean. As the grand finale, we wanted the fourth trail to start on top of the erupted volcano.
Now we were able to see the progression of the whole mountain. We also had proof that our moss-covered stones and rock-formations were interesting enough and could co-exist with an erupted volcano. We were confident that we could create a recognizable environment with low vegetation and without any trees.
This early concept shows the idea of the mainland with steep cliffs and wide areas for sprinting. Clearly a contrast area is missing here, the volcano.
After all this exploration, we could finally start with the production
In this phase, I built different rocks, pebbles, plates, columns, and so on. The workflow was always the same. First, I made a rough blockout, implemented it in Unity, made a prefab, and went back to Blender for more details if I was happy with the initial asset idea.
While I was working on the level decoration, I gradually built the assets I needed for a specific section. Little by little, the asset pool was built up.
For the level decoration part, I started with painting the terrain colours. For a fast-paced game like Lonely Mountains: Downhill, the main path should always be visible and clear to read. Player guidance is the key here. Once the ground texture was finished, I started to populate prominent areas like bridges or memorable spots like big rock formations. So step by step, each area was built to be unique, but without reinventing the wheel.
As for everything else, I used big shapes first and added details later. This allowed me to keep everything at a glance and to make sure that we were still within the vision we had for “Eldfjall Island”.
The customization part was also driven by Iceland as our main theme. Okay, to be fair, it was actually more inspired by the early history of Scandinavians. Unlike other regions colonized by Vikings, Iceland had no local population. However, we used our artistic freedom to make playable Viking-like outfits, paint jobs for bikes, and wooden shields as back accessories.
When we were finally done decorating the mountain, we started thinking about marketing materials. Most important was the key artwork which represents the DLC on all platforms. Like for the mountain itself, we started with the big picture.
Even the screenshots tell the story of Eldfjall Island. There is a moss-covered area, a volcanic zone, a rainy bridge, the beach and many more.
What do we want to show in the key artwork?
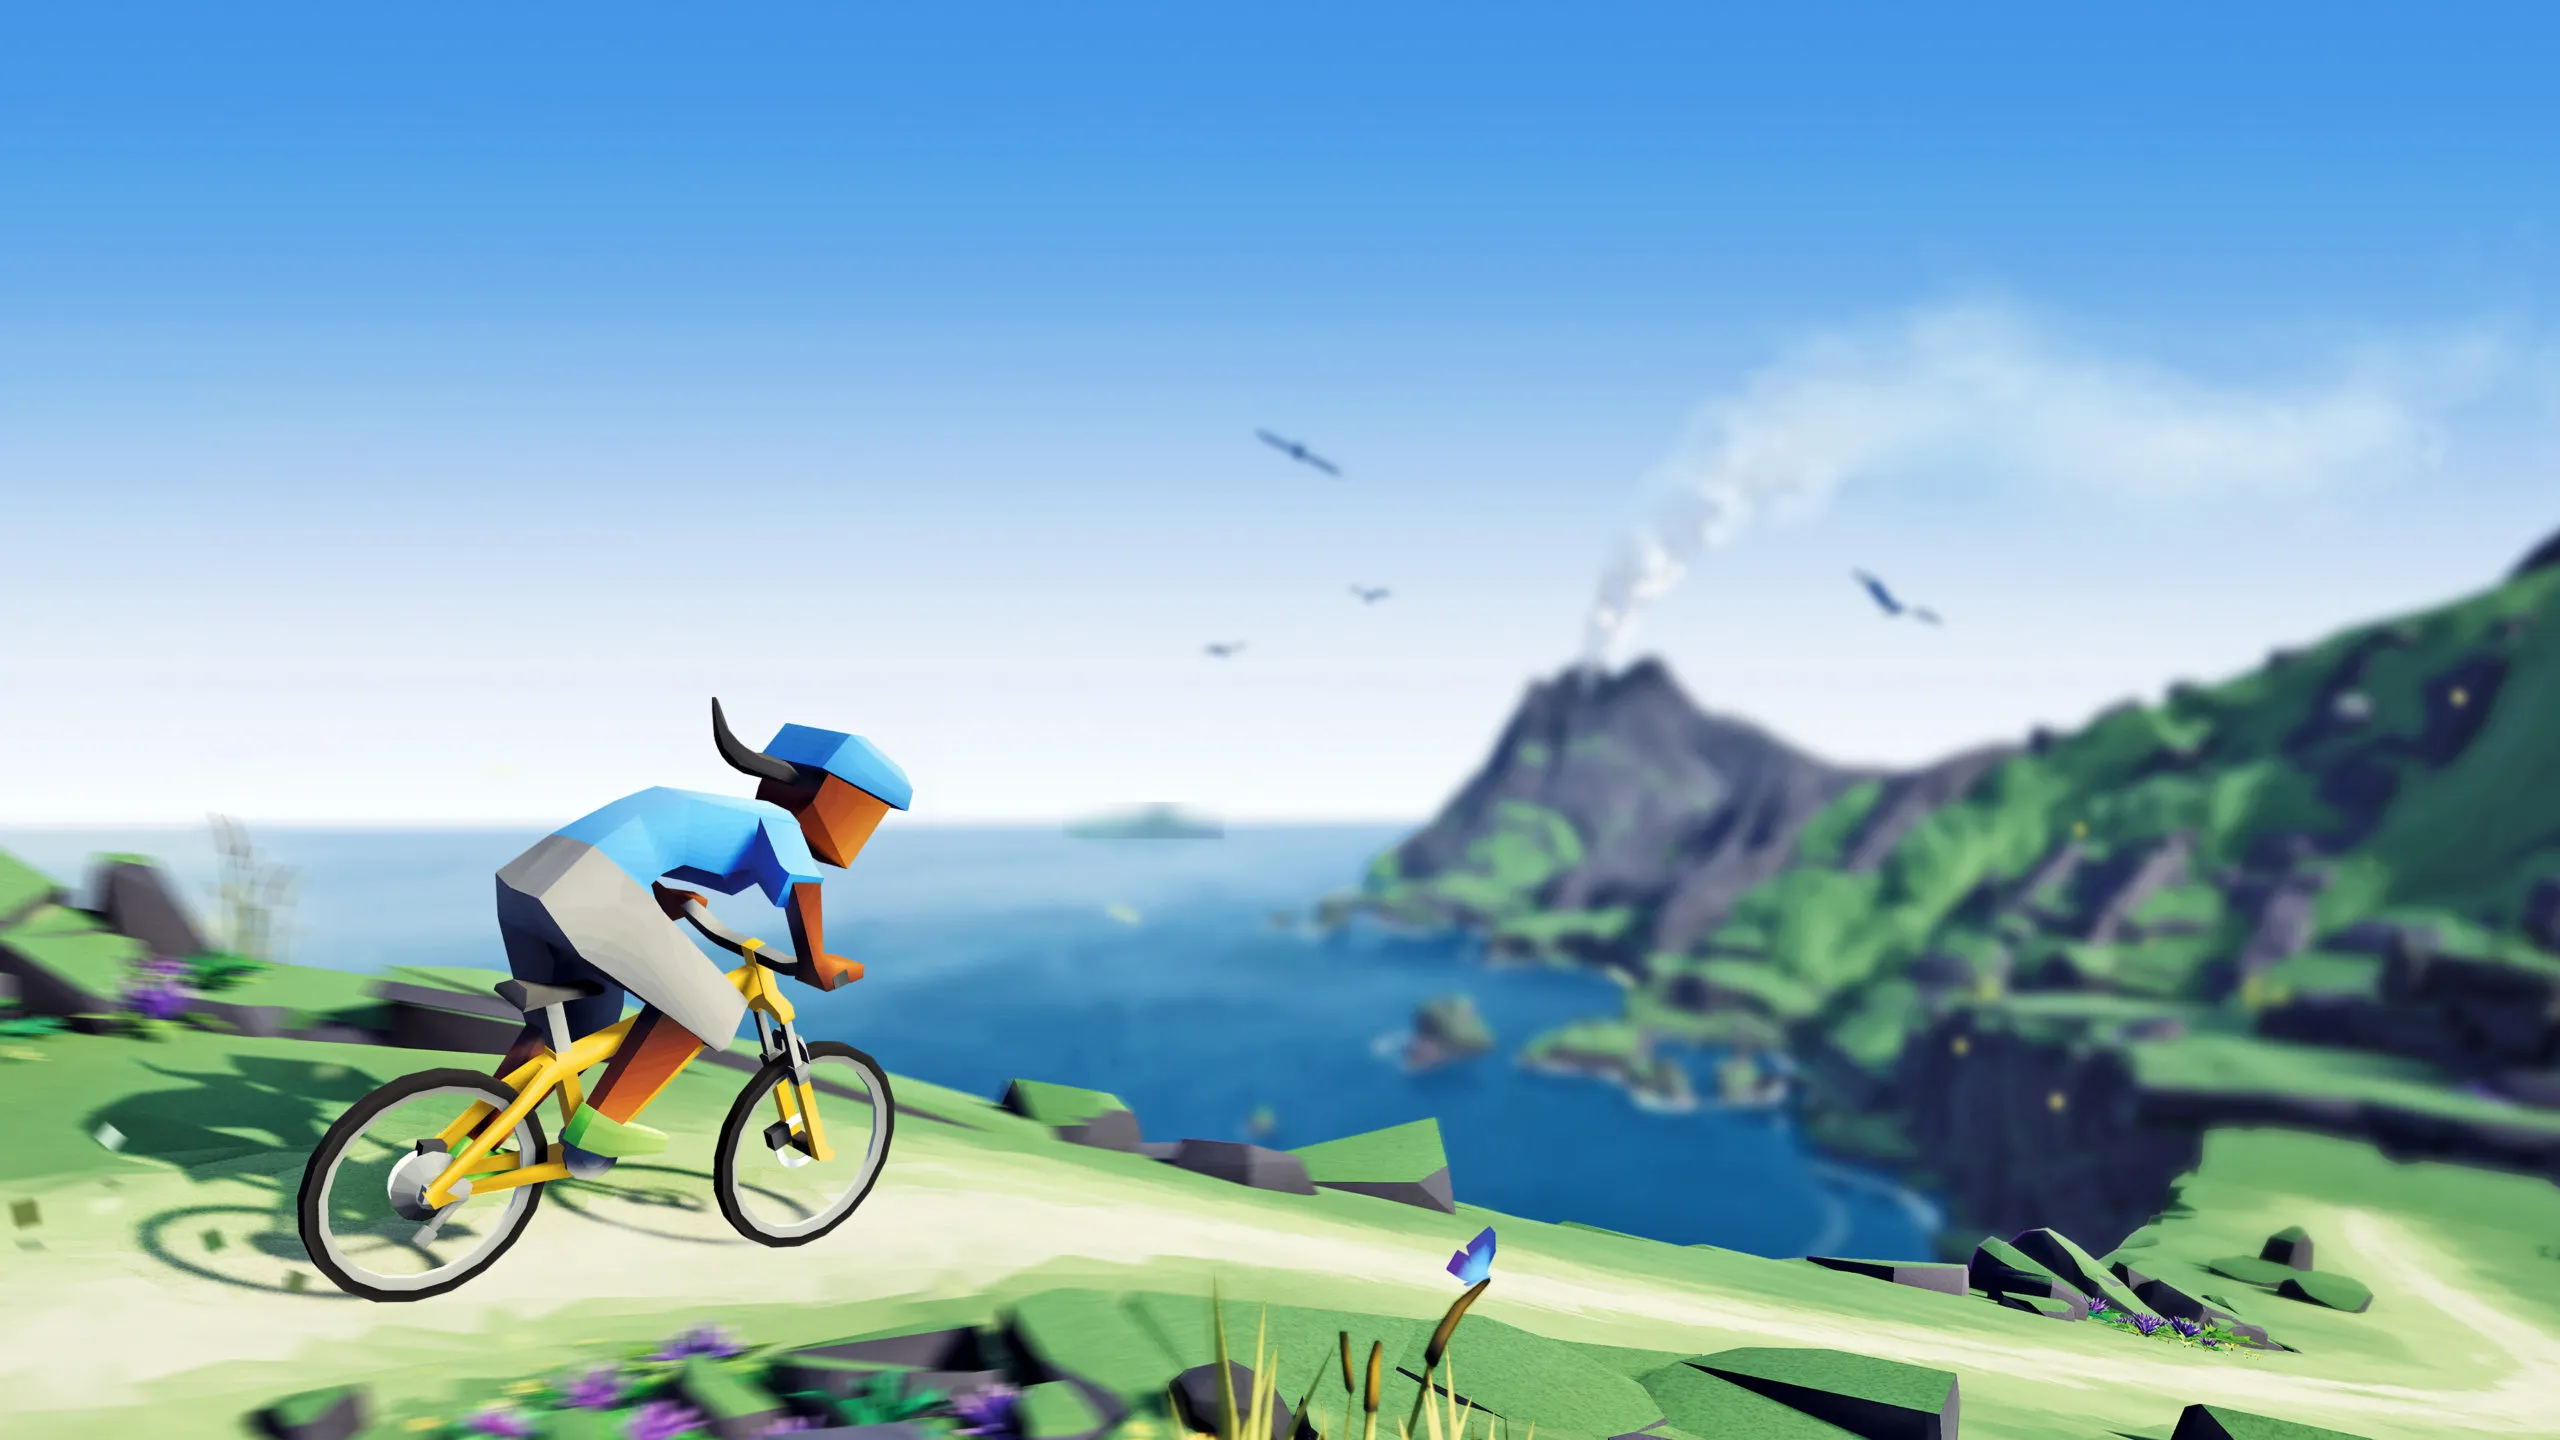
We normally always focus our artworks on the rider – so that everyone understands at first glance that it’s a biking game. But we also wanted to give enough visual space for the new mountain, as this is the DLC we’re selling. So we ended up with an image using the rider to guide the viewer’s eye along the cliffs to the Vulcano, containing all the important information about the DLC that we had established early on.
In retrospect, although we spent way more time on research and concepts than we did for our previous mountains, not rushing too early into the production phase has paid off. Because we had a clear vision of each trail and how we wanted to achieve it, there were only a few areas we had to rework during the production, and we only had to do one art pass for most of the sections.
But still, there were a few blind spots we tackled too late. The first one was trying to create a suitable look for the lava streams, which took longer than initially planned. Not going too deep into technical details but we tried different approaches and in the end settled with a full lava mesh, a handpainted flow map, and a custom shader. The second stomach ache we had was the distant ocean. We had to find a solution for how to visually match our regular nearby water with the endless ocean in the background. This also took longer than we initially expected. So even with proper preparation, not all challenges are always predictable, and some need a lot of time to solve. We have learned to plan more time for the unforeseen and will tackle major tasks as quickly as possible in our future projects.
When your art style is already established, it’s half the battle to build a world around it. Once you find a proper design language, you can apply it to nearly everything within the given IP. For “Eldfjall Island” it helped us a lot to find strong references to work with. We found enough visual input to get inspired and to create our own believable Lonely Island.
Noah Carev – 2D/3D Artist
Noah Carev joined Megagon Industries in late 2018 as a 2D/3D Artist. He started his artistic career as a graphic designer, studied game art at S4G School for Games in Berlin and is now working on Lonely Mountains: Downhill.